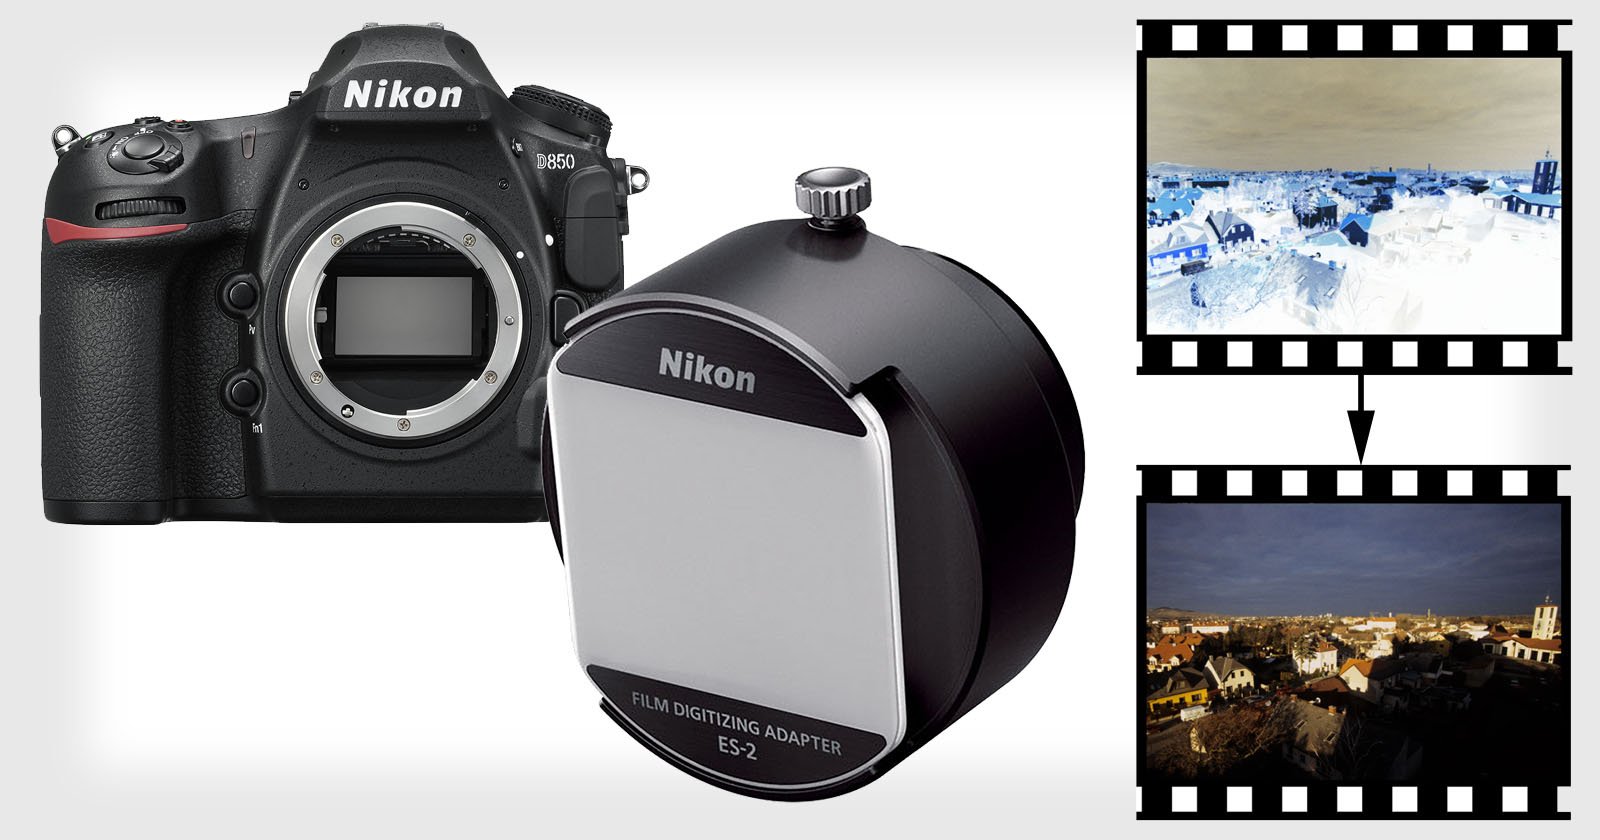
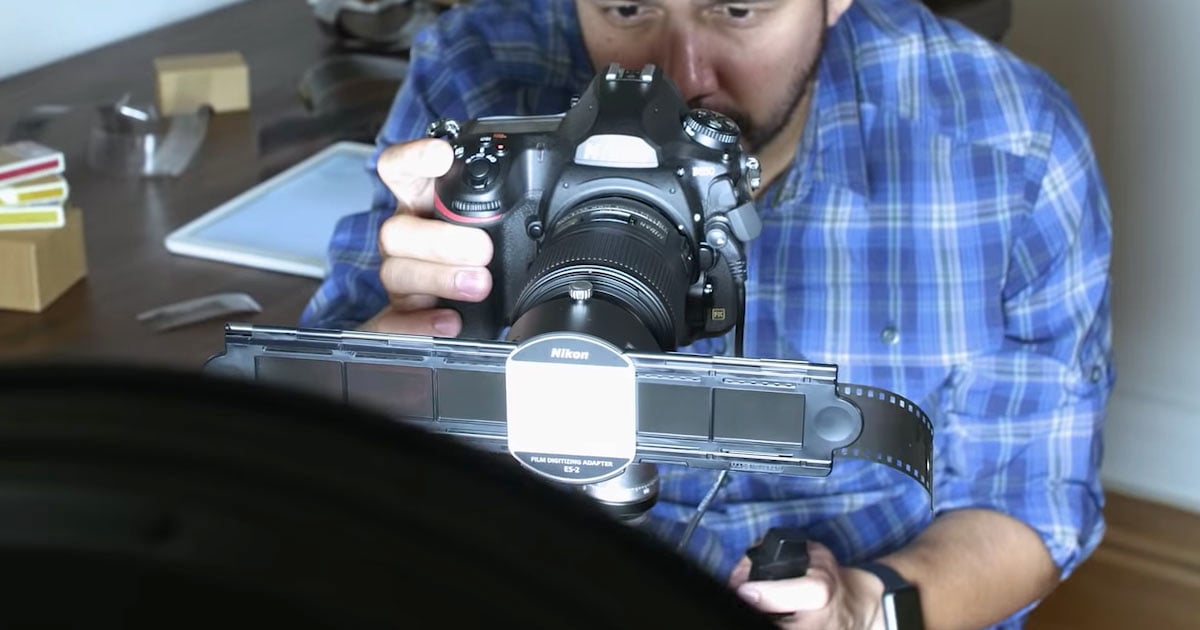
Digitizing Your Film Using Your DSLR
With the cost of my local neg scanner in London being £40/hour for a Hasselblad Flextight, I have been digitising using a DSLR for a quite a while. The results can be extremely good as long as a little time is put into the setup to begin with.
After going through the images, I can then select a few frames to take to the Flextight in order to do the high-resolution scan for fine art printing if needed…
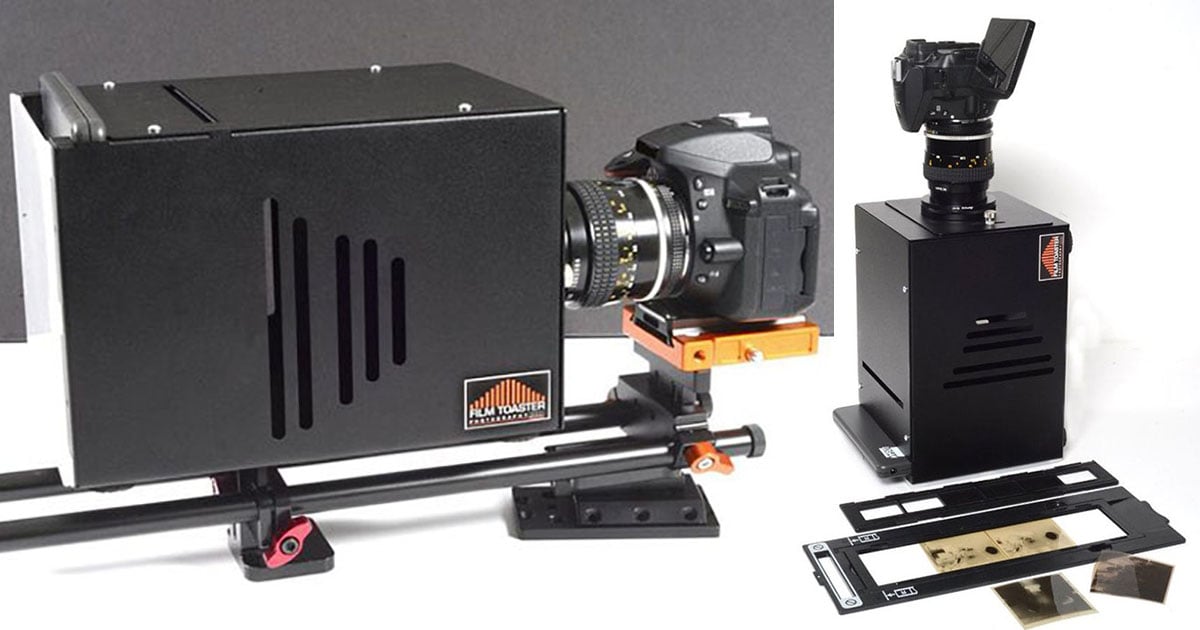
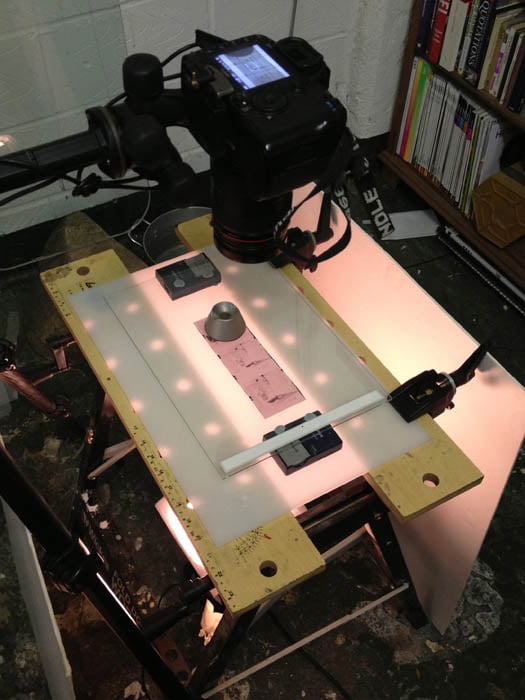
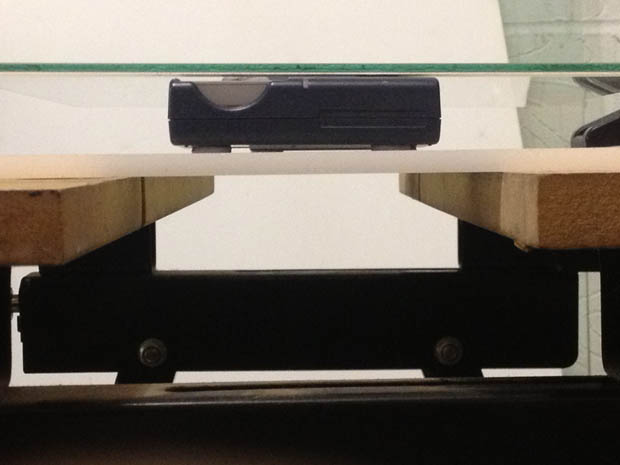
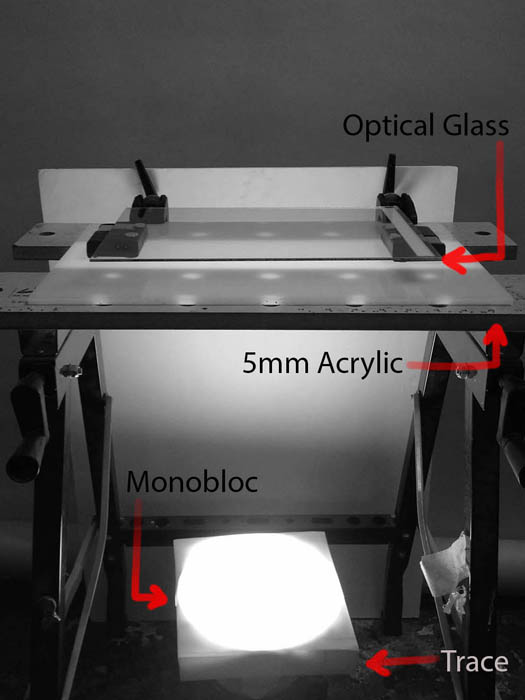
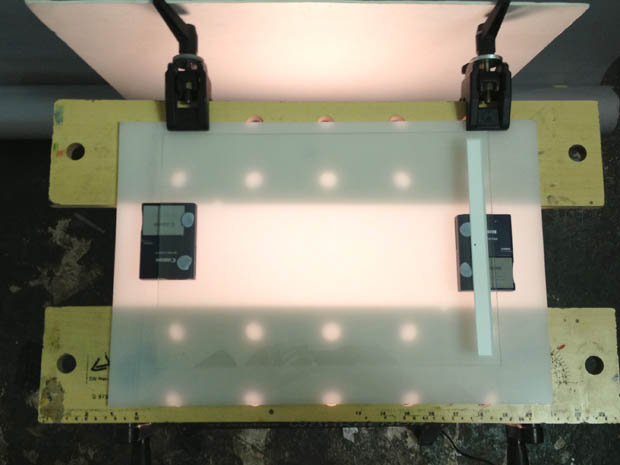
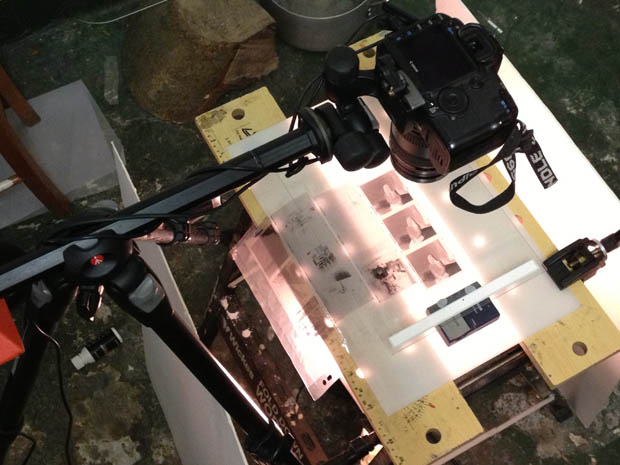
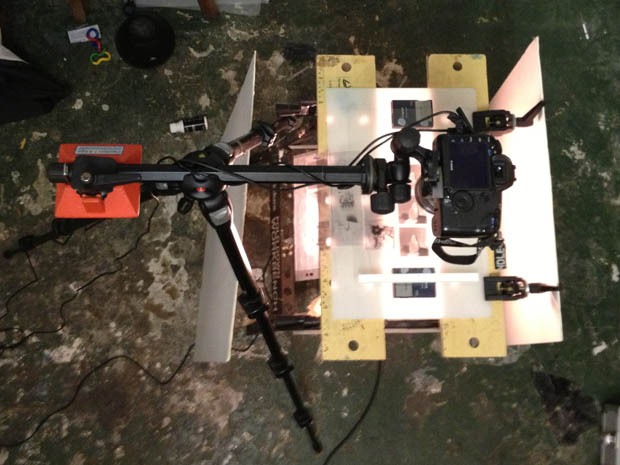
The setup is very basic; the negative is placed onto a horizontal piece of clean optical glass (taken from an old scanner) the camera is above pointing down. As always the choice of lens here is critical, Canon L glass (or equiv.) macro if possible. Also getting the camera perfectly square on saves a lot of time later in Photoshop.
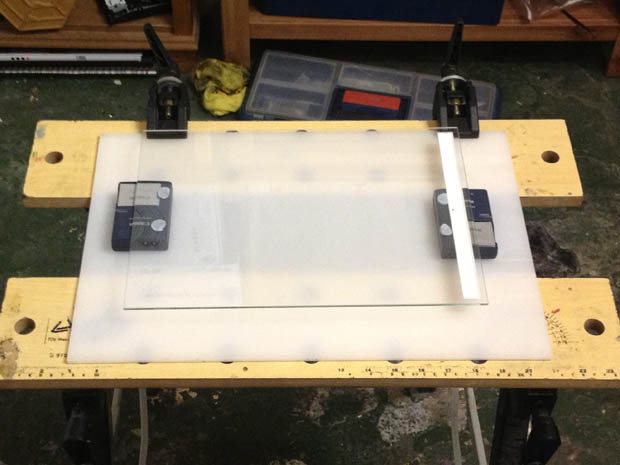
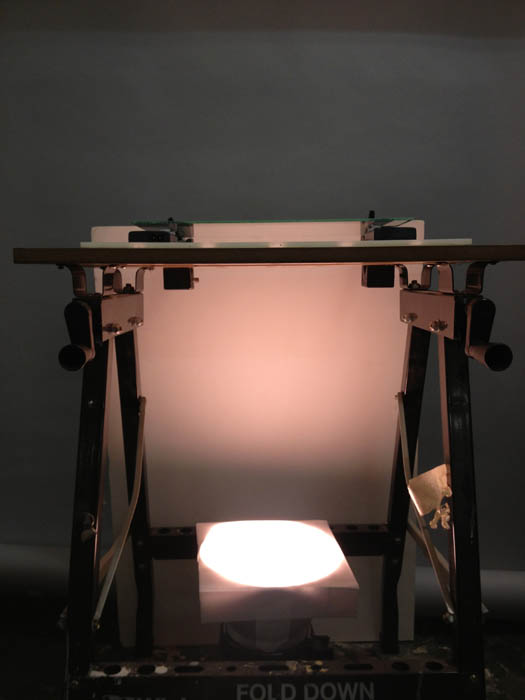
Under the glass is a gap of an inch or two, then a horizontal sheet of 5mm translucent acrylic. The acrylic is to diffuse the light, and the air gap to ensure that any surface irregularities or scratches in the acrylic do not come through into the capture.
On the floor is a strobe pointing upwards, with layers of trace to diffuse and reduce the power of the strobe, as per the diagram.
As with the zone system in the darkroom, I found that the best practice for a correctly exposed black and white neg is to expose for the film density, so it registers just above black (RGB 10,10,10). Then everything else will fall into place along the histogram, with any further adjustments being done with curves and levels. Very thin or very dense negs can take some trial and error but almost any neg can be digitised with some experimentation.

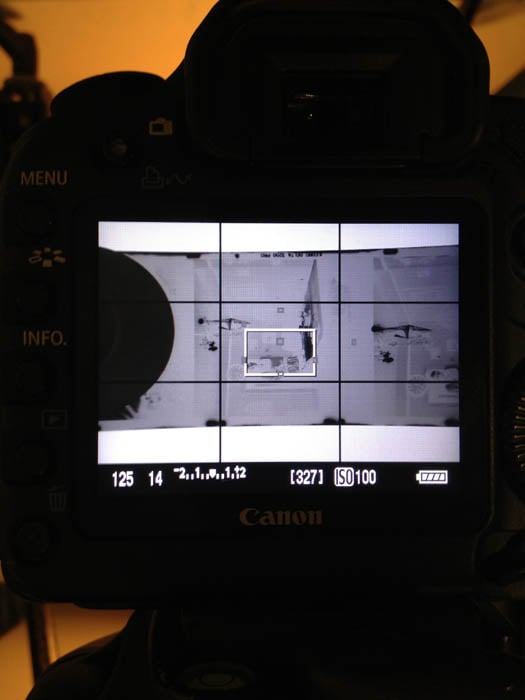
As you can see from the screen shot, the camera is set to fairly normal studio settings (1/125 F11 ISO100), with the aperture adjusted to maximise sharpness for the lens begin used. Too low and the best of the glass is not being used, too high and diffraction errors will start to creep in. The levels have been crossed over to invert the negative back to positive again.
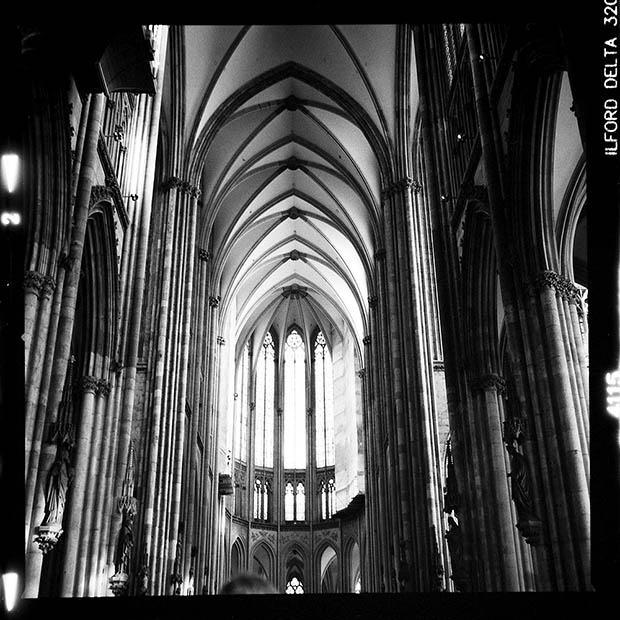
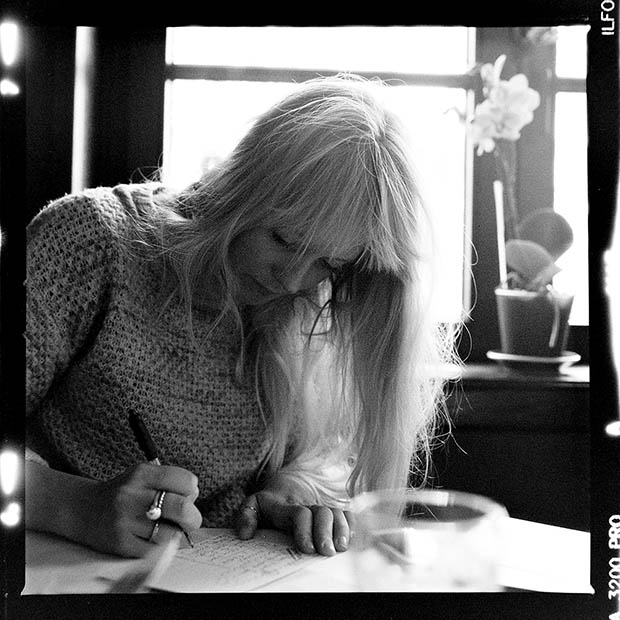
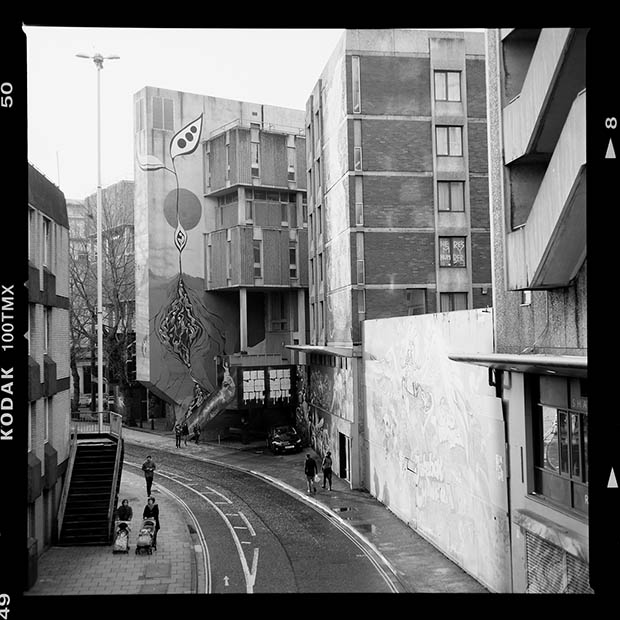
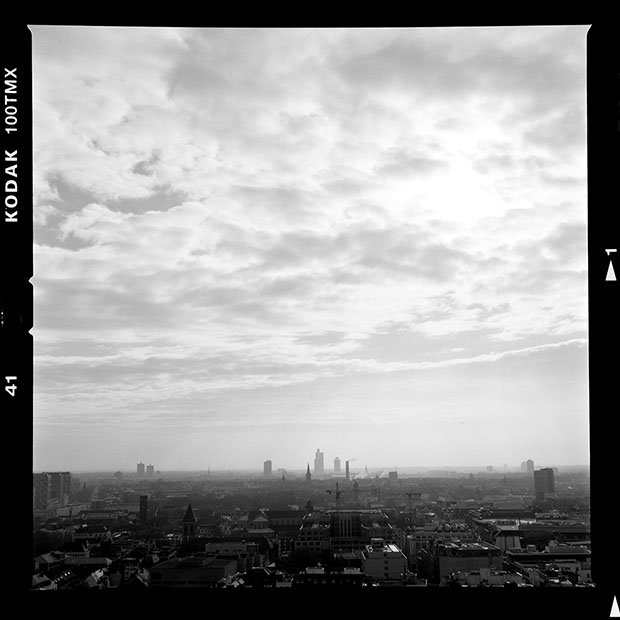
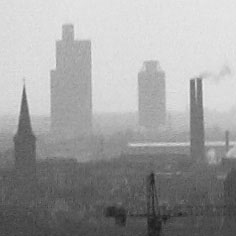
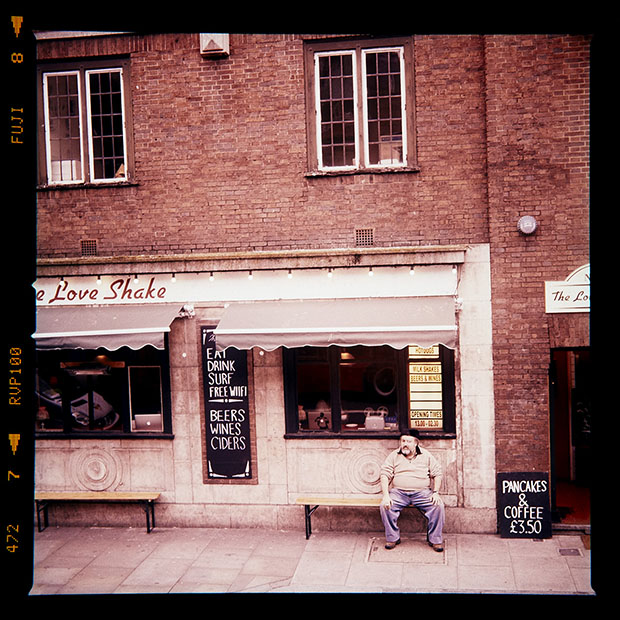
Here are a few more sample photographs digitized using my Canon 5D Mark II: