PSA: Say Farewell to Unsharp Mask When Sharpening Your Photos
Unsharp Mask: the sharpening filter of choice for photographers everywhere. It’s a fantastic tool that can really take an image to the next level when used correctly and I’m here to tell you that you should never use it again. That’s right, bid it a fond adieu and stop using Unsharp Mask. Forever.
Sound familiar? Maybe not, but as the Senior Product Manager and primary worldwide spokesperson for Photoshop, he might know a thing or two about the ins and outs of sharpening.
Hughes recently gave a workshop where he highlighted his Lightroom/Photoshop workflow and he mentioned Adobe’s opt-in program called “Headlights” that tracks and compiles information about user habits. One of the problems plaguing the Photoshop team, he explained, was getting people to use tools with “smart” or “quick” in the names. Apparently if you name prefix a tool with smart (Smart Sharpen) or quick (Quick Select) people tend to think they’re smarter and quicker.
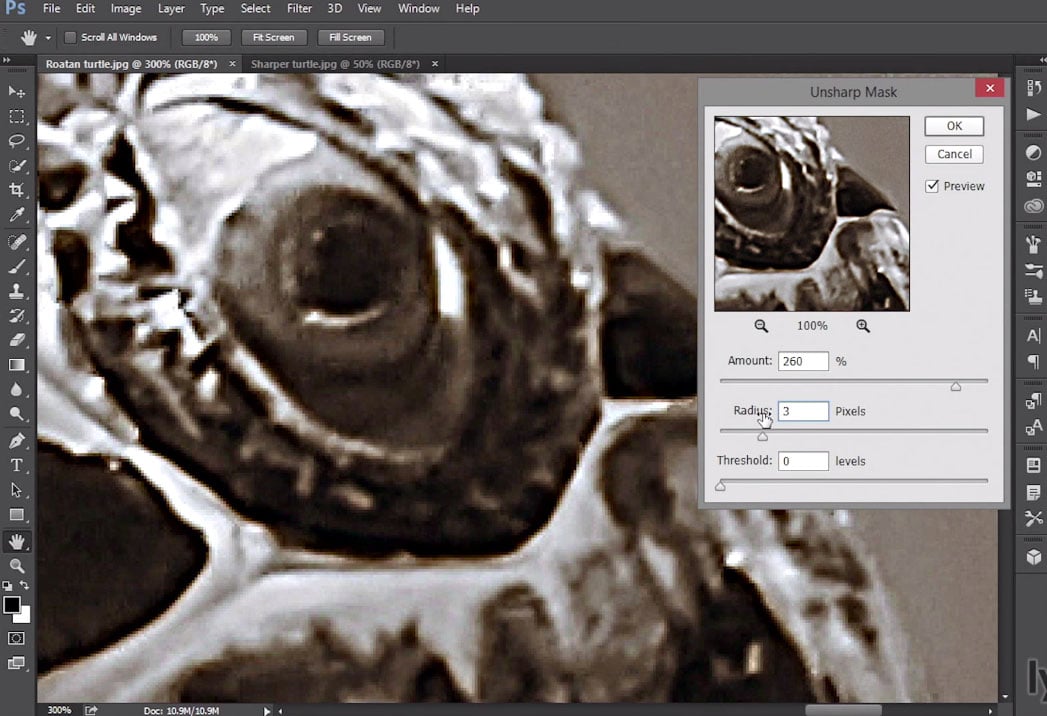
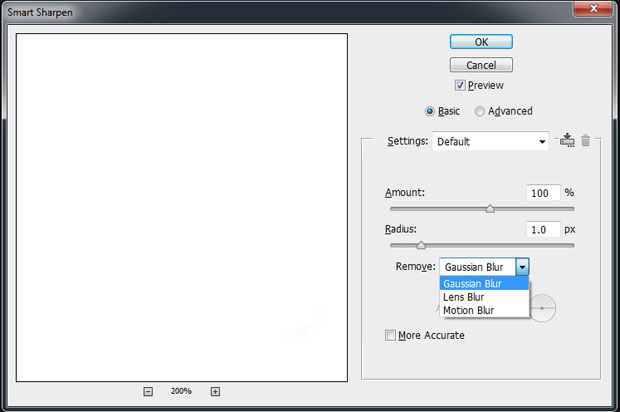
He went on to explain that in Creative Suite 6, when set to “Remove: Guassian Blur,” Smart Sharpen performs the exact same function that Unsharp Mask does, which was designed for scanned images and not digital photographs.
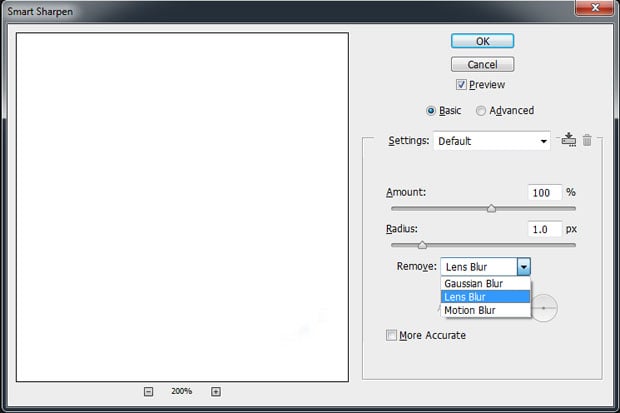
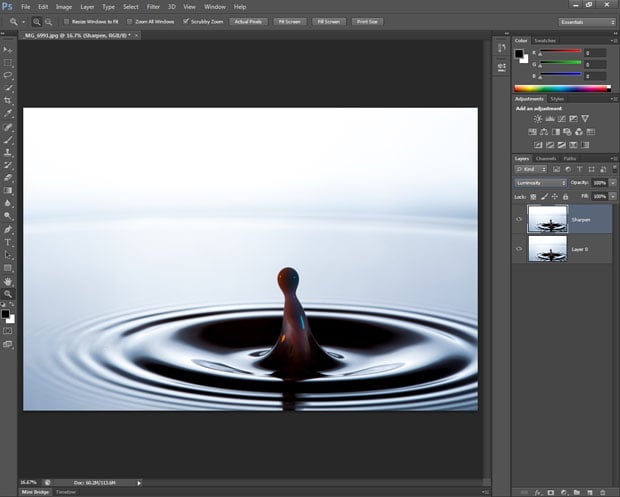
When sharpening your pictures, you’re better suited setting Smart Sharpen to “Remove: Lens Blur,” which was designed for digital photographs.
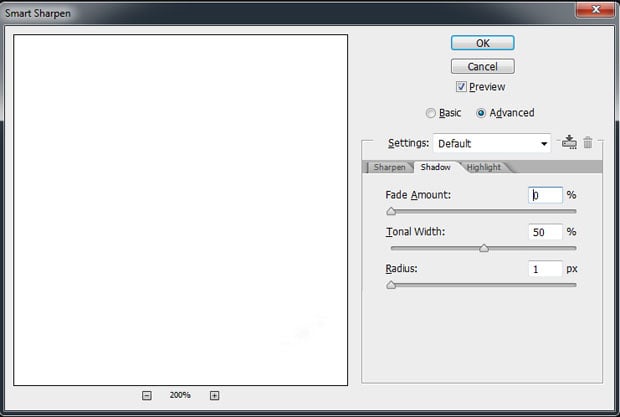
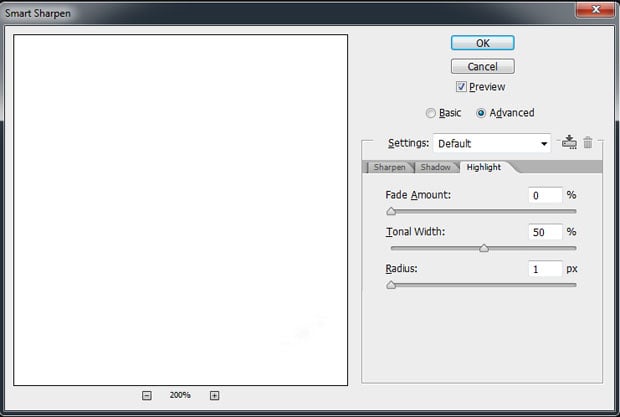
Additionally, if you change the radio button from “Basic” to “Advanced,” you are given the option to fine-tune the shadows and highlights, which allows much more control than the single “Threshold” slider on Unsharp Mask.
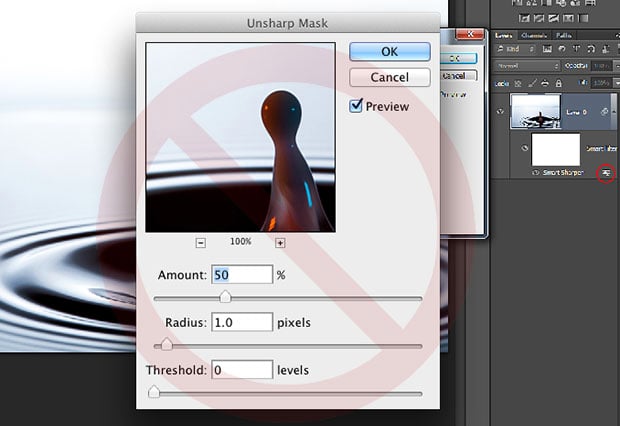
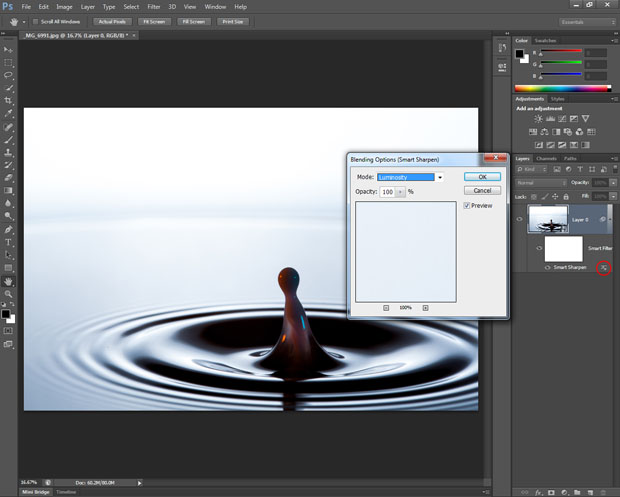
Finally, you always want to make sure you change the blend mode of your sharpening layer to “Luminosity” to remove any possible color fringing in your final output. Or, if you’re using Smart Objects (always a good idea), you can double-click the icon to the right of the Smart Sharpen filter to change the blend mode independently of any other filters you may have on that layer.
Smart Objects and Smart Filters are enormously powerful tools and you should be using them at all times. But that is a topic for another article.
About the author: When Sam Seitz isn’t annoying his roommates with long-winded talks of the miniscule minutiae of photography, he’s a student at the University of Kansas who enjoys the color green and the seductive scent of petrichor. You can find his photos on Flickr.