How to Print Your Photos Onto Wood
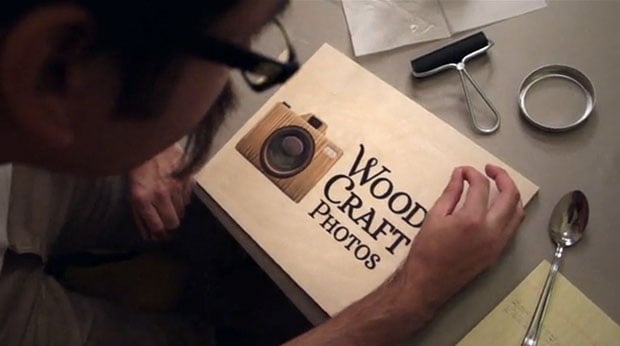
Photographs printed onto wood are hangable, durable, and sustainable. The technique I use at Wood Craft Photos involves printing the image onto a special film, preparing a wood panel with custom gel medium, and then combining, leaving the wood grain in the light colored areas of the image showing through.
Here’s a step-by-step tutorial on how you can use this process yourself for beautiful wood prints.
Materials
- Baltic birch panel at least the intended size of your photo (smaller is ok if you’re willing to crop) or bamboo or maple
- Digital image to print
- Gel transfer medium
- Inkjet printer with pigment ink (there is a dye method, I haven’t used it)
- Transfer transparencies
- High quality paintbrush (so no hairs easily come out) or small foam paint roller
- Brayer
- Spoon
- Very fine, sharp needle
- 150 or 220 grit sandpaper
- Sanding block
- 91% isopropyl alcohol
- Tack cloth
- Krylon or similar UV overcoat (glossy or matte)
- Scotch tape
- Watch, clock or stopwatch (something that counts in seconds)
- Goggles with good coverage for sanding/routing
- A face mask for when using the alcohol mix.
Optional
- Router
- Hand sander
- Modge Podge
Step 1: Mix your gel
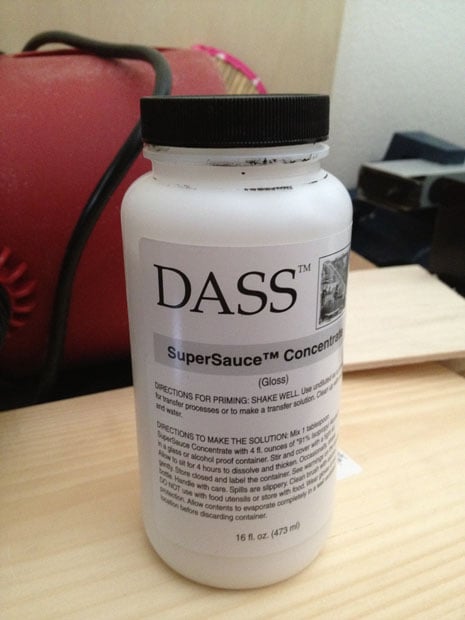
I use DASS Supersauce. They make corresponding transfer films as well, but most are interchangeable with the exception of Kimoto Silkjet. This is for dye based inkjet printers. This takes 4 hours to formulate once mixed, so it’s best to do it first. Using the instruction, mix the alcohol and the gel mix together in a glass jar.
Do not use plastic and do not use something intended to eat out of (I use mason jars). Shake it gently and set in a cool spot, out of the sunlight.
Step 2: Picking a photo
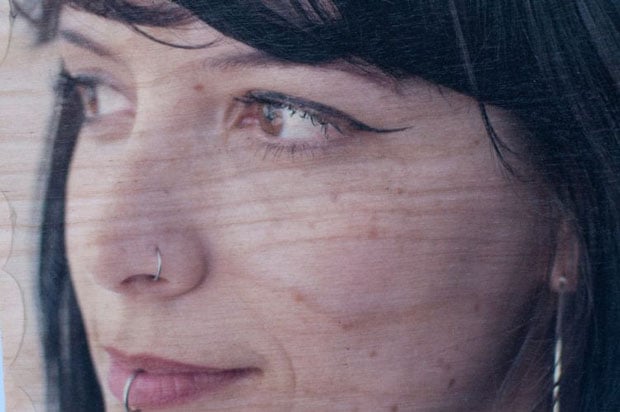
It has to be a digital image. If you have a film image, Polaroid or printed photograph, you’ll have to scan them before you can work with them using my technique. Not every photo works well. I can print any photo, but some work better than others. Photos with plenty of highlights are best as the less ink there is, the more the wood shows through. This doesn’t mean you can’t do a dark photo- someone with dark skin and visible eyes would work- the eyes would retain the texture and quality of the wood, while the skin would retain some texture, but not as prominently.
Step 3: Picking a wood panel
Pick a panel that doesn’t have any little cracks or divots, no rough knots either. AA grade Baltic Birch is what I use, and I hand pick them at my local supplier. I also use wood certified by the Forest Stewardship Council to ensure sustainability.
It should be as light and white as possible. While most wood is decidedly less white than off white canvas, every little bit helps. This will ensure your colors relate to each other as they normally do on screen. We can correct the rest with an ICC profile. You should also find the dimensions of your photo in inches or cm and measure the panel. You may have to either cut the panel to fit exactly (best to make it a few millimeters smaller in both directions than your photo) or if your photo is bigger than your panel, accept that some cropping will occur.
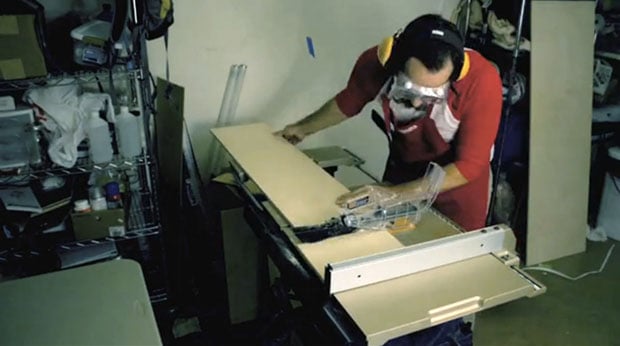
Step 4: Finish your panel
It needs to be very smooth. Using 150-250 grit sandpaper, go over the surface you’re going to print on several times with a sanding block, or a few times with a hand sander. I use the sander for two reasons- it’s more even and I make a lot of these. Sand with the grain of the wood, never against it.
Step 5: Prepare your panel for hanging
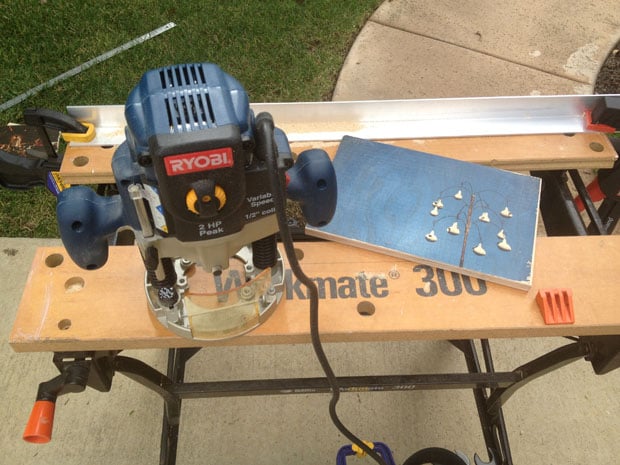
This is important as it’s hard to prepare the panel to hang if the image is already on it.
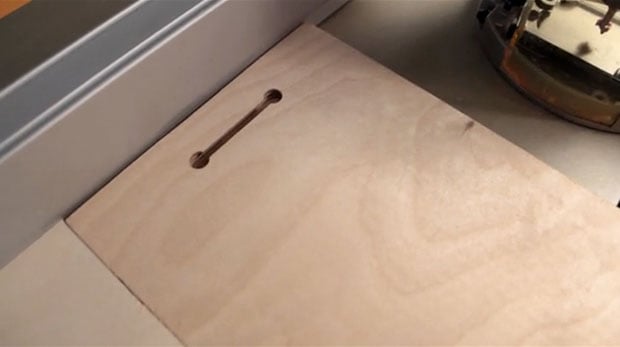
I use a router with a keyhole bit. You can use a router guide to carve a horizontal notch all the way through the panel, or if you’d rather preserve the edges to be uninterrupted, you can use a plunge router (I use a plunge router). If you don’t have a router and your panel is light enough, you can use Gorilla Glue to attach picture hanging hooks.
Step 6: Clean it the panel

Use a tack cloth to brush off all of the saw dust, this is very important. I use a vacuum and then tack cloth and then a slightly damp kitchen towel.
Step 7: Insert your transparencies
Make sure you know which side your printer prints on when a paper is inserted. These transparencies have only one printable side. On the bright side, you’ll know if you got it wrong before applying to wood as the ink will be runny. The correct side to print on has slightly raised bumps and is often tacky if you lick a thumb and press it to a corner of the sheet. They have a special film on one side that grips ink in a certain way to make it easy to transfer.
Step 8: Print your image
Reverse it, especially if it has words visible in it. Use “Photoshop chooses colors” for printing profiles. Select an ICC profile for canvas, as canvas is often off-white and that’ll help the colors match the wood well. It also means the print heads will be slightly higher, which gives enough room for the thick sheets to travel through.
Once the sheet is printed, don’t allow anything to touch it for at least 3 minutes, as the ink is curing to the special film on the transparency.
Step 9: Registration
This term comes from silk screen printers. It refers to how squarely your design is setting onto the target medium. I have glued an L-bracket to my work bench and I put my panel in the corner. I then gently lay the transparency special film side down on the panel. I use scotch tape to tape the edge of the sheet to the table and flip it back. This will ensure that when I flip it forward onto the panel later, it will lay down exactly as I intend.
Step 10: Coating
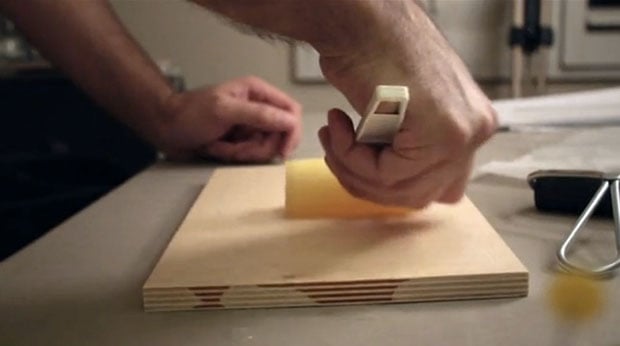
Using the gel medium mix, evenly and thickly coat the panel. Either a paintbrush or foam roller will work. Do NOT clean these with water. Use 91% isopropyl alcohol instead. Water clots the mix. It shouldn’t be too thick, but it’s not a light coat either. No part of the panel should be dry or nearly dry when you’re done. It’s far worse to undercoat than overcoat.
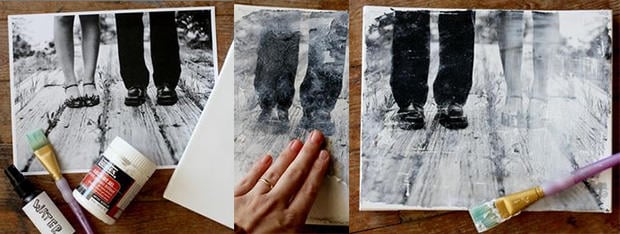
Step 11: Applying

As soon as you’re done coating, roll the sheet onto the panel, from the closest edge to the furthest. Use a brayer to help you smoothly roll it on without any air bubbles. If you lay it down and there’s an air bubble, the coating reacts quick enough that you can’t do anything about it.
Step 12: Wait 3 minutes
Step 13: Peeling
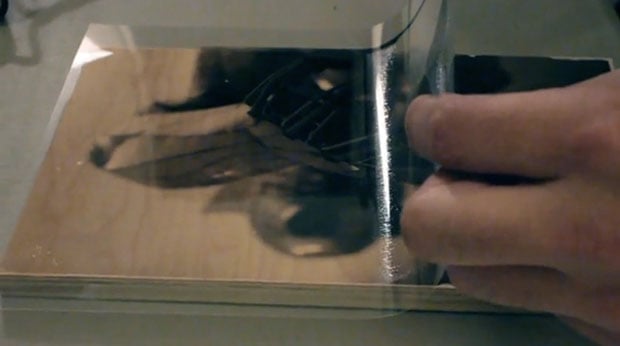
After 3 minutes I run my finger around the edge of the panel and then peel from the side you laid down first. go very slowly and use a spoon to gently rub the area of the transparency just after the peeling edge. Don’t rush it as the ink may cling to the transparency, pulling up and ripping.
If too much ink is sticking to the transparency when you lift, press it back down, rub gently over the area and try lifting from another edge. Sometimes little bubbles of ink are on the surface. The best way to take care of these is using the needle, carefully pop them. If it’s a medium sized bubble, don’t pop it in the middle, but on the edge of the bubble.
Step 14: Drying
Let this dry for 2-3 days, as it needs to fully dry *and* cure. Make sure it’s in a room as free of dust and hair as possible.
Step 15: Finishing
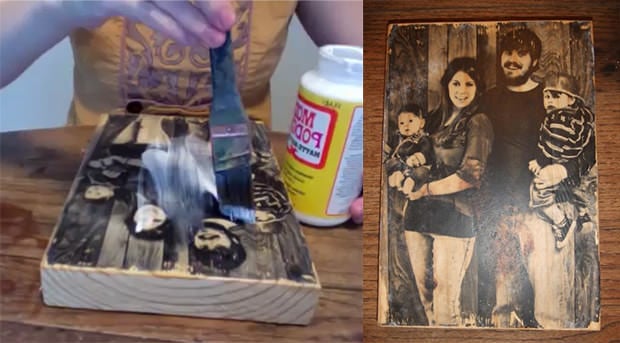
After done drying, gently blow any collected dust on it off, take it outside and lay it on newspaper or wax paper. Spray evenly with a Krylon UV coat. Do this 2-3 times.
Some people like the look of Modge Podge. After 2 hours of drying from the Krylon, you can brush Modge Podge onto it to give a decoupage look.
About the author: Jason Land is the photographer behind Wood Craft Photos. Land is attempting to go independent with his wood photo printing, and is currently in the process of raising funds for the business through Kickstarter. If you found this tutorial helpful, please consider supporting his efforts. This post was originally published here.