A Review of the IKEA Cardboard Camera

Yesterday I attended a VIP sneak preview of the new IKEA PS designer furniture line in Malmö, Sweden. I was not the slightest bit interested in the designer furniture. I was there for one reason, to play with and acquire the new KNÄPPA, IKEA’s cardboard camera.
They then presented us with a different assortment of food and snacks while one of the staff members showed us how the camera was operated.

They had a small presentation of all the furniture and they then let you off to roam around.
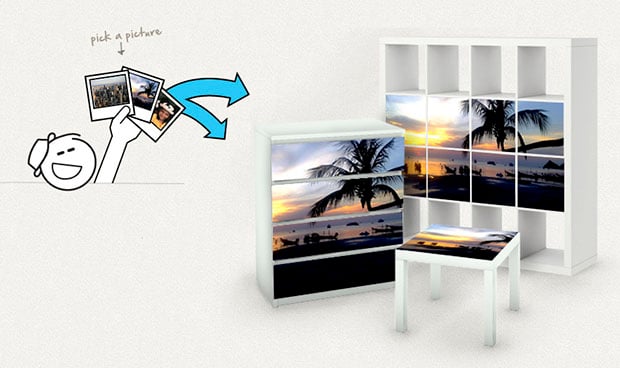
During this time I asked the staff about the camera. They told me that the camera was NOT going to be sold to the public, and that it was just made to promote this new line of designer furniture (great marketing tactic if you ask me).
After this, I quickly went home to start shooting.
Now, about the actual camera.
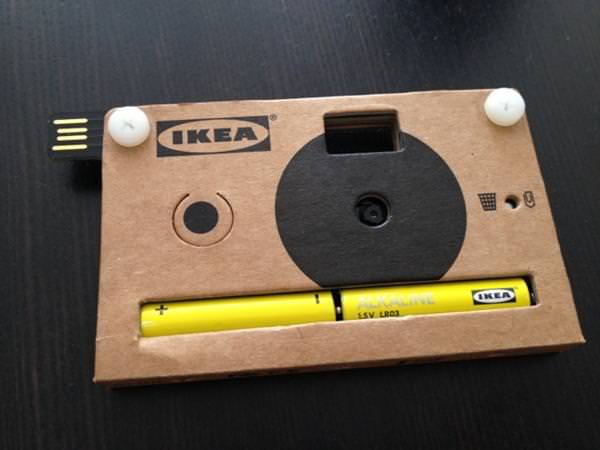
Description and Assembly
It is made of thick cardboard wrapped around a piece of PCB plastic.

The camera uses 2 x AAA batteries (using IKEA batteries here, obviously).

There’s two buttons in the front, the big one for turning on/taking a photo/turning off the camera (more on that later) and a small one to delete the photos from the device.
On the back there’s a small green LED light indicator and the small vinyl bolts and nuts to keep the camera together.
On the side of the camera there’s a male USB connector.

Assembling the camera is easy. You slide the two batteries in the battery compartment and you bring the other cardboard flap of the camera over to keep the batteries in place.

You then put the bolts/screws in to the mounting holes and screw the nuts on.

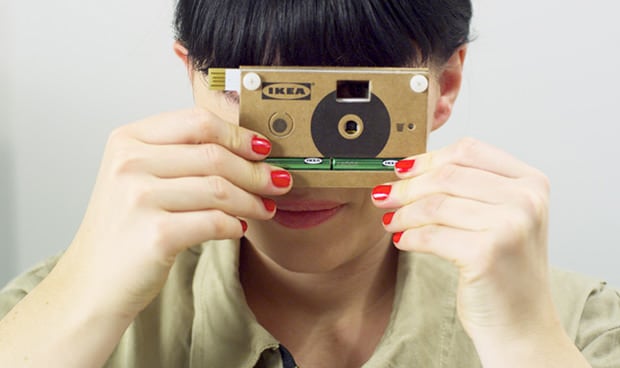
Using the Camera
Camera Quality and Sample Photos
Well to actually get to the photos you need to plug the camera into a USB port. When you first connect it, Windows 7 automatically installs the drivers. If you haven’t taken any photos, you’ll find two files in the 15.3MB drive. One is a photo.

This is a photo of all the products in the IKEA PS line.
The second file is a README file from IKEA.
Now as you can see from the photo above, the quality is not that great. Its like a camera phone from 2006. Here are more examples:


You can get quite decent photos if you manage to keep the camera steady and the scene well lit. The shutter of the camera is slow, so you’ll need a steady hand.
In conclusion, this is essentially a digital pinhole camera. But there’s something extra about it, it has that certain feel. It’s not a Leica — it’s made out of friggin cardboard! But even though it’s cardboard the build quality of it is surprisingly robust. Image quality isn’t always everything nowadays. I would love it if IKEA started selling these. It would gain a big following.
I know this review is somewhat long, but I hope you’ve gotten something out of it!
About the author: Hisham Ramish is a photo enthusiast living in Sweden. You can visit his blog here. This post was originally published here.