How to Give an Outdoor Portrait a Warm Cross-Processed Look

I took this shot with my Canon EOS 450D, and a Canon 50mm f1.8 — my favourite lens in the case of portraits especially.
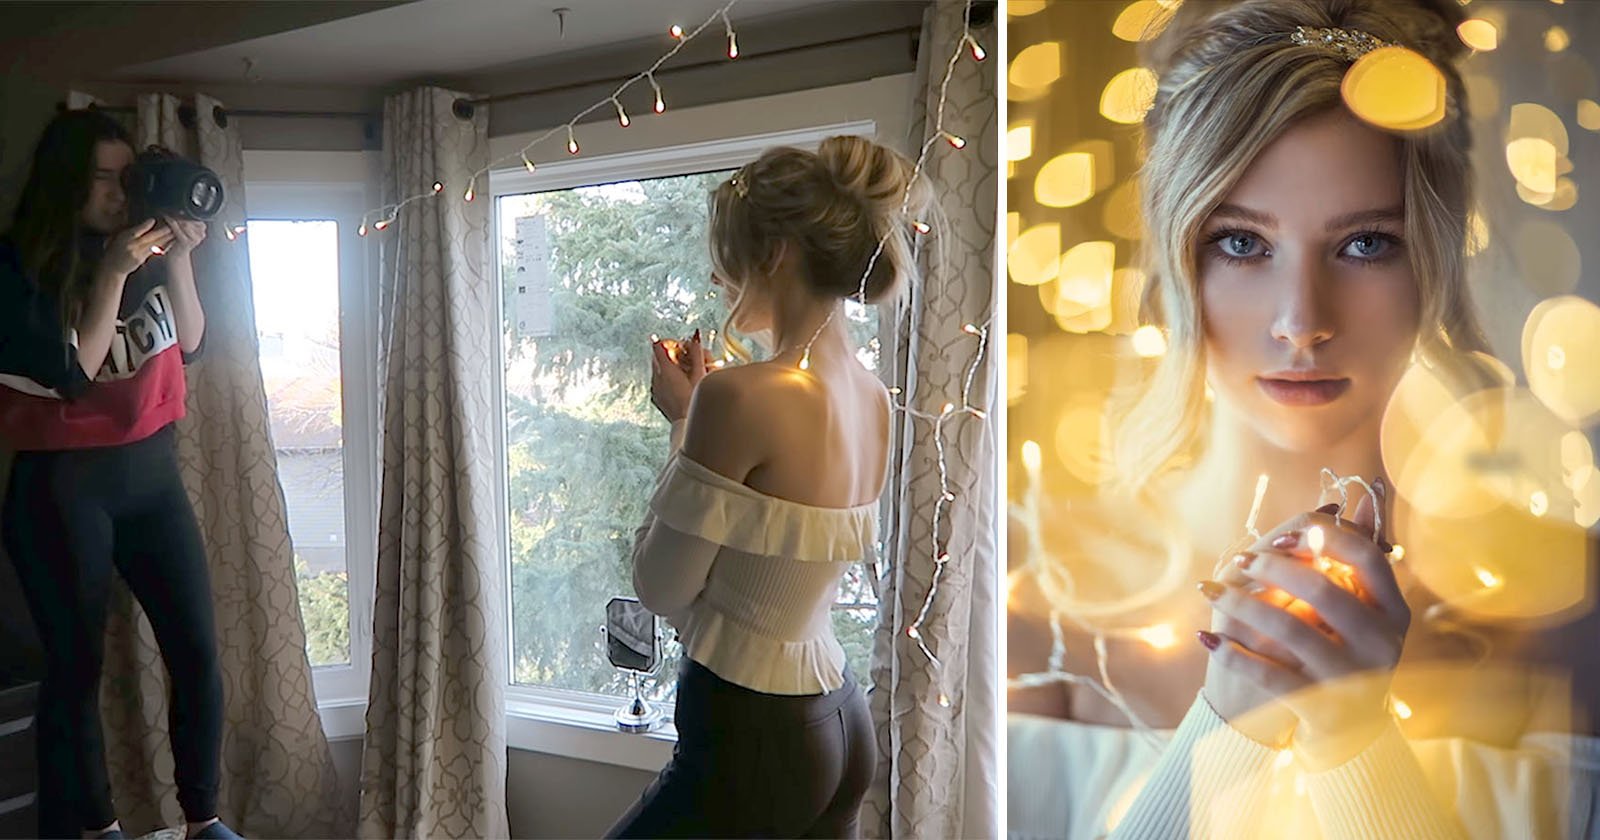
I chose to make the shooting session about a hour and half before sunset when there’s still a lot of light, but with a warm, lovely quality to the light. I prefer warm tones, and to emphasize these tones and balance the cool colours of my model dress and tree leaves I set White Balancing to “cloudy”. You can see in the picture that the sun was on the right side of model, so she didn’t have too much direct light on her face. The white wall behind acted as a discrete reflecting panel, resulting in light that’s quite uniform.

The photo above is the original shot, with no postprocessing. I used Canon Digital PhotoProfessional as the RAW converter.
Then I used Gimp to post-process the image (sorry, I don’t remember the release number) using standard filters — you can find them in every release of Gimp or in Photoshop. To post-process like this, you will need a gaussian blur filter and RGB curves, and you have to work with layers. The goal is creating a sort of cross-processed look. To obtain the effect I followed these steps:
- Open the layers window
- Create a copy of original layer and work on the copy
- Adjust the colour curves:
- Take the value channel and create a little curve to make the image more bright.
- Modify the RGB channel curves in the way you can see in pictures below.

These curves are just an example, you can choose the right values according to the result you want to obtain.
- Create a new layer with a colour like #DA70d6 (“Orchid”). I chose this colour for my image, but I often use a warm yellow instead.

Set the opacity of the layer to a small value (around 10%) and set the mode to “Color”. Then merge down.
- Create a copy of the merged layer, and use the mode “Overlay”, setting a low opacity. Then merge down.
- Now you have two layers: the processed image, and the original one. Set the original as upper layer, and set the opacity as small as you want.
That’s all! Here’s the final image (hover over it to compare it to the original):
About the author: Eleonora Mambrini is a photographer based in Bologna, Italy. You can check out her work on Flickr and Facebook.