Exploding Lightbulbs that Shatter Water
Editor’s note: A few weeks ago I discovered James’ photography in PetaPixel’s Flickr pool and was completely blown away by his photos of exploding lightbulbs that shattered drops of water instead of shards of glass. The concept was so creative that I asked him to teach all of us by guest posting here on PetaPixel. I hope you all enjoy this walkthrough and his photographs as much as I did.

The Idea
The shot I had pictured was an exploding light bulb, but instead of glass, the bulb was water. I’ve seen shots of water balloons popping, where the water retains the shape of the balloon right before it splashes everywhere. Well, I wanted to take that shot a step further.
The idea of the lit bulb with exposed threads came from this post on Strobist.com.
What You’ll Need

- Light bulbs
- Water balloons: the larger “party balloons” don’t work as well, they take a lot more water before the rubber gets tight enough for a clean break
- Pellet gun: I bought the cheapest one at Wal-Mart, about $20
- Safety pin or some other means of popping the balloons
- Cut extension cord and some electrical knowledge
Camera Settings
Most of the images were shot at 1/250 and F 6.3. I was having some technical difficulties that morning but you could sync at much higher speeds although the 1/250th seemed to freeze 99% of the motion.
Shooting the Photographs
There is no safe way to break a live bulb and a water balloon at the same time, so I knew that I would do each separately and then combine the final images in Photoshop.
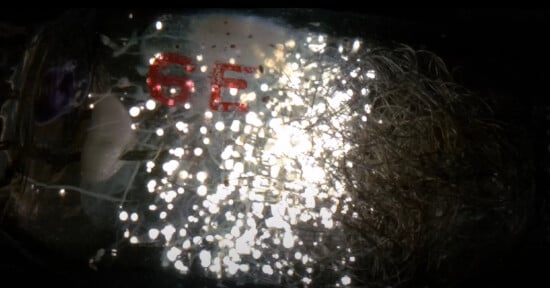
First I set up for the bulb breaking. I wanted to see the threads of the bulb, so I soldered a cut extension cord to the threads and the base of the bulb. Please don’t try this; it can be very dangerous (or deadly). The bulb was suspended from a stick that went through a piece of black foam core. I set up my flashes, one to camera left and one under the bulb. I believe they were both set at 1/8th power. Also, wear safety goggles due to the breaking glass and ricocheting pieces of lead.


I stood to the right of the camera with my pellet gun and shot through the bulb. I had a cardboard box on the other end to catch the pellets. I did not have a sound trigger (but it would have been nice) so I just pressed the remote when I squeezed the trigger. After about 5 bulbs, I figured I had enough to work with (and enough glass to clean up).


For the water balloon the setup was very similar. I replaced the bulb with a balloon and I placed an aquarium under the balloon to catch as much water as possible. For lighting, it wouldn’t be very economical to have a speedlight under the balloon so I cross-lit the balloon from front camera left and behind on camera right.

I tried using the pellet gun to bust the balloon – bad idea. It popped back and hit me in the forehead. So I took a stick off of a set of blinds and taped a safety pin to the end of it. Popping the balloon was the same process as earlier; I stabbed it and pressed the remote trigger at the same time.


It took about 20 balloons before I got what I wanted, and then I took the images into Photoshop.
Editing the Pictures
Editing was fairly simple because I set up the shot with the final editing in mind. The background was black, so any pieces of glass or water that was not wanted could easily be cloned out. I took a few of the bulb shots and ended up photoshopping all of the glass out and leaving the threads. In some on the final images I left the smoldering filament also.

When I had the bulb shot cleaned up, I pulled in the bursting balloon shot. I selected all of the black area and deleted it. I then matched the size of the water balloon base and the bulb base to make one seamless image. Then for a final touch, I flipped the images so that the bulb would be facing upward.

Things to Watch Out For
I had to watch out for a few things, but it will all depend on your setup.
- I had to avoid spill light on the background to keep it as black as possible.
- When you shoot and shatter the bulb, make sure you unplug the power cord before messing with the bulb. Just because it isn’t on, doesn’t mean the power isn’t still there.
- Make sure to use Water Balloons – the big party balloons do not work as well and take a lot more water before they are stretched enough to burst correctly.
Tips and Tricks
Experiment, that’s all I can say. There is no right or wrong way to take a photograph. Just think through the issues, look at the results you are getting, and keep tweaking until it works like you want.
Final Thoughts
All in all, this was a fun shoot. It had its risks, but nothing went wrong and I was very pleased with creating a unique image that looked like what I had first visualized. Sometimes these “fun days” of experimenting are exactly what it takes to spark your creativity out of a slump. Keep shooting, be safe, and have fun!


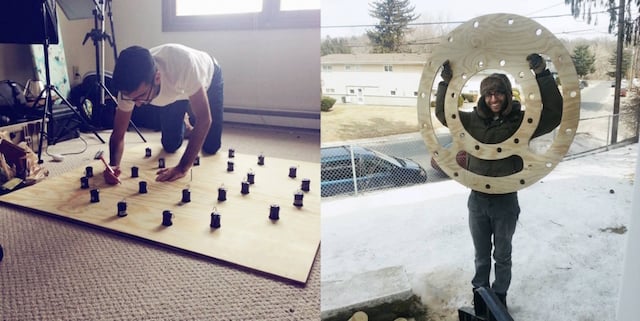
About the author: James Davidson is a photographer based in Cochran, GA. Although the majority of his work revolves around rustic country settings, he also likes to test the limits of his creativity. Visit his website Edgewater Media or his Flickr page. You can also follow him on twitter @edgewatermedia.