Make Your Own Aluminum Foil Reflector
If you want a reflector to play with lighting, but don’t want to shell out money for a real one, you might want to try making an aluminum foil reflector. They’re cheap, easy to make, and decent at providing fill light for harsh shadows.
How to Make It
What you’ll need:
- A large, flat board (i.e. cardboard box, display board/foamcore)
- Adhesive (i.e. tape or spray-on adhesive)
- Aluminum foil

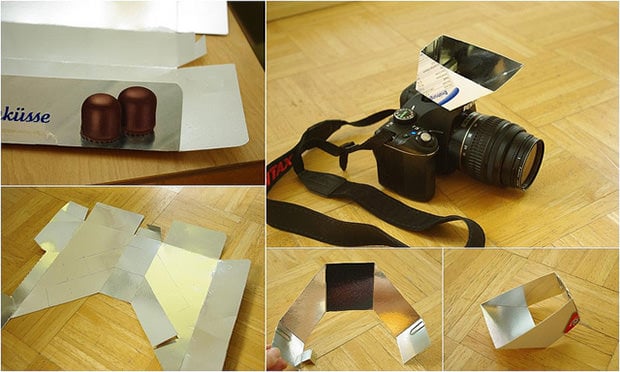
The process of actually making the reflector is very intuitive. Simply modify your board to the size and shape you want, and attach aluminum foil to the surface. One thing to note is that aluminum foil usually has two different surfaces:

One is more reflective than the other, so it’s up to you to choose which you’d like to use. Instead of choosing, I covered both sides of my cardboard with aluminum foil, with a different surface on each side. This allows me to choose how much light I’d like to reflect.
Also, some people choose to crumple up their aluminum foil before attaching it to the board, since this provides a softer and less directional light. You can also spray paint the foil to change the color and quality of the light you reflect.
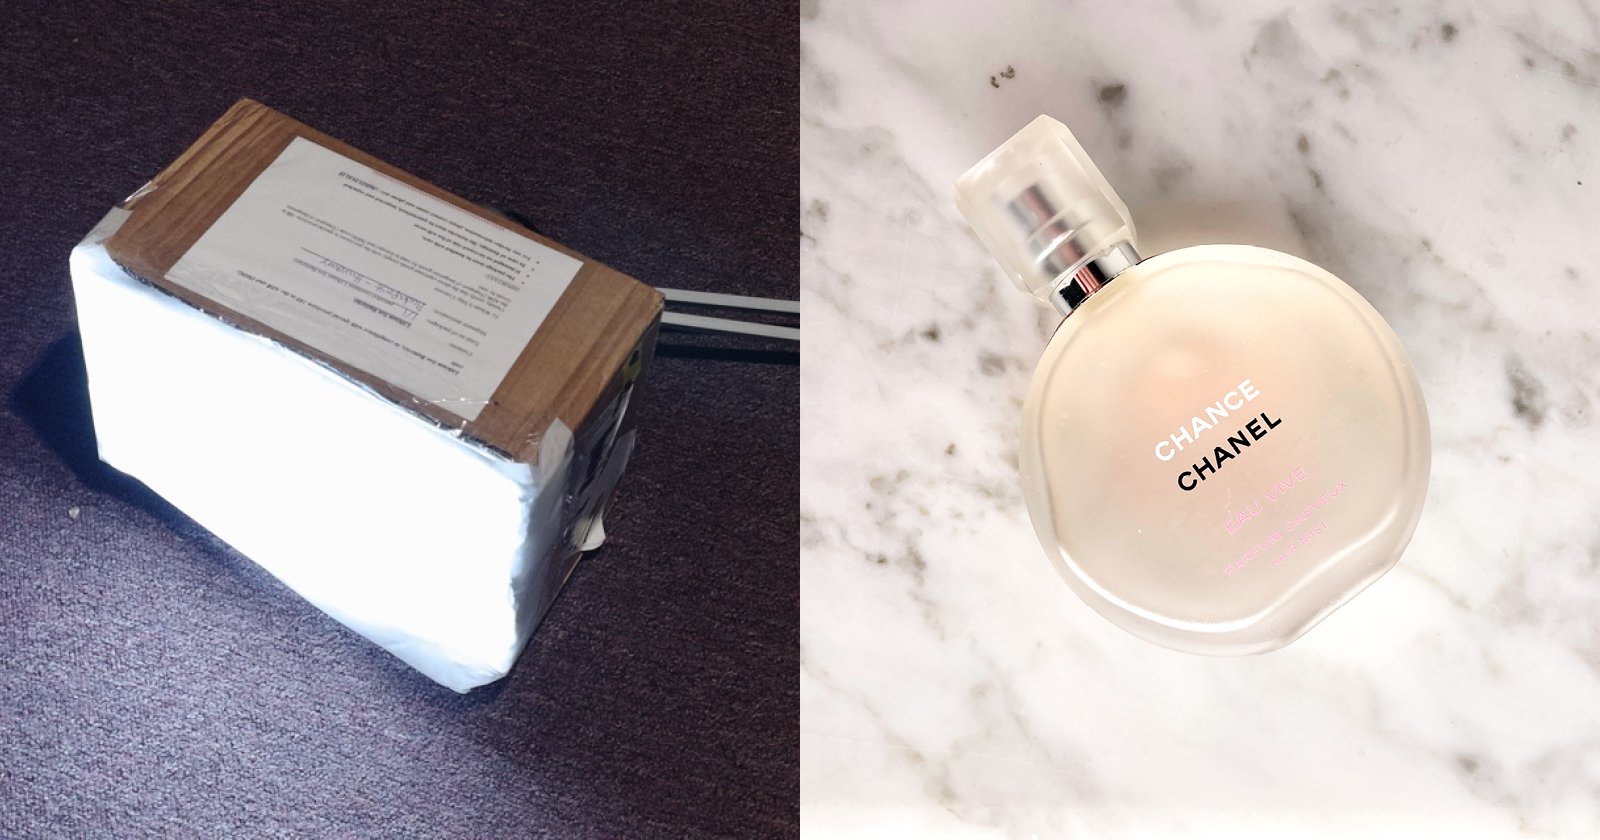
Here is how my personal reflector turned out:

I chose to use a cardboard box since it was cheaper than a foamcore and could be folded up and tucked away, while having enough surface area to provide a significant amount of light.
How to Use It
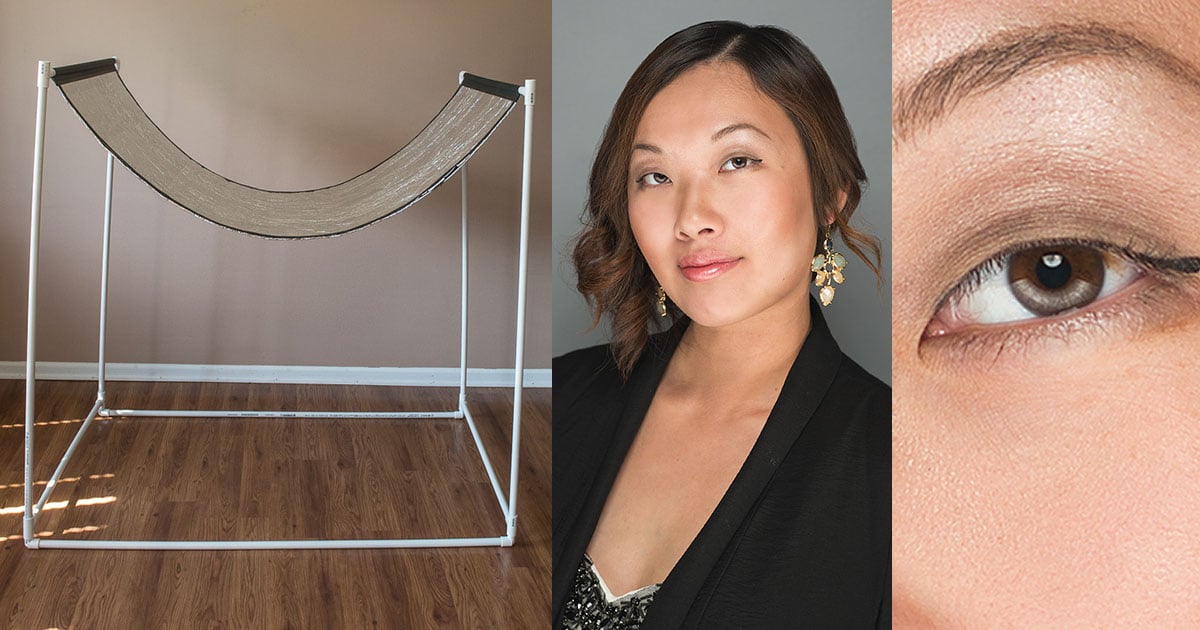
These reflectors can help you add fill-light to an outdoor shot where harsh lighting would otherwise cast unflattering shadows on your subject. Take the following “portrait” for example:

You can use the reflector in this situation to fill in the shadows:

Here’s the portrait that results. Hover your mouse over it to compare it to the original:

As you can see, the reflector can help you overcome undesirable lighting conditions and can add a glint to your subject’s eyes that brings any portrait to life.